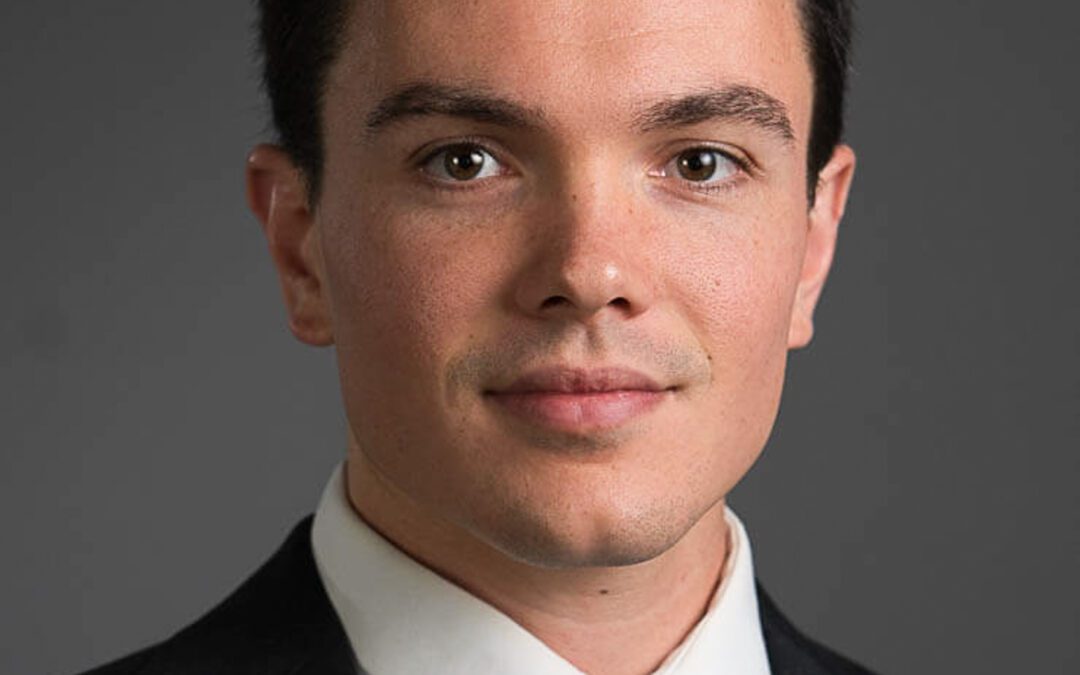
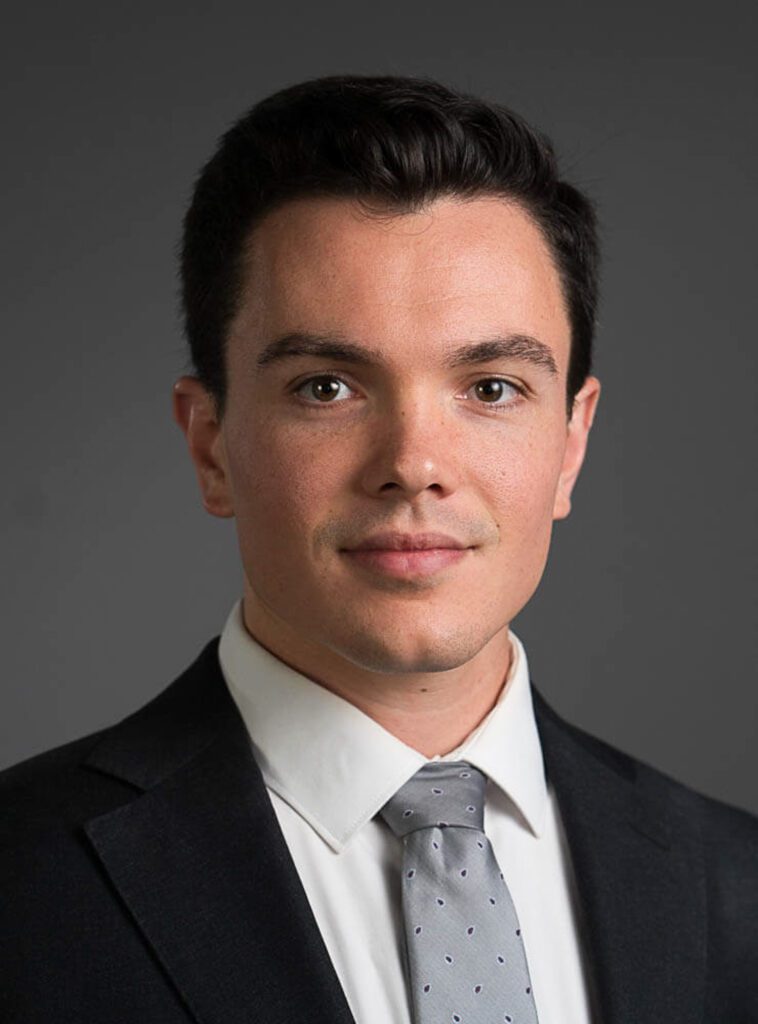
Your residency/fellowship headshot is critical because faculty members make snap judgements about how serious you are just by the way your ERAS photo looks.
And they do this BEFORE they even look at your application.
Some residency applicants are tempted to take their own photo or ask a friend to take it with a decent camera, and while that might work for a simple LinkedIn photo, for something as important as a residency application, it’s critical to send the best possible first impression.
Session fee | $250 | Includes your ERAS photo.
Our 15-minute session includes:
1 look/wardrobe
White or gray backdrop
Real-time image review & selection
Image resized to your application size needs
24-48 hour turnaround (1-2 business days)
(This session is not suitable for LinkedIn photos.)
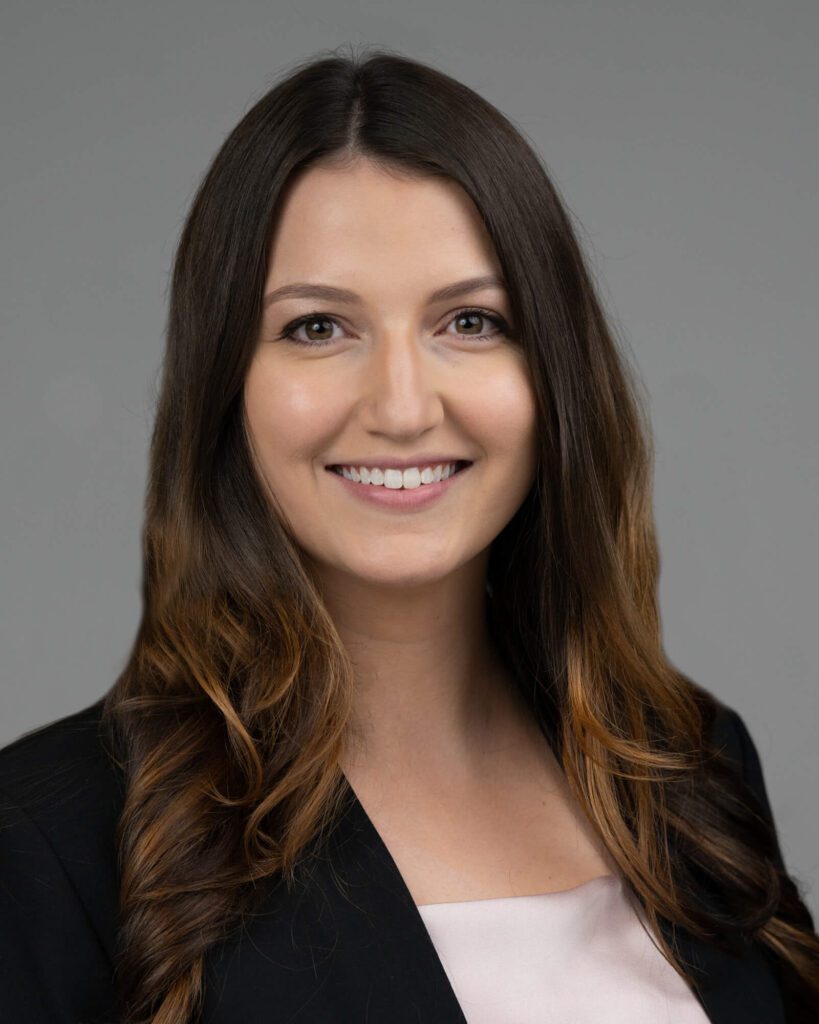
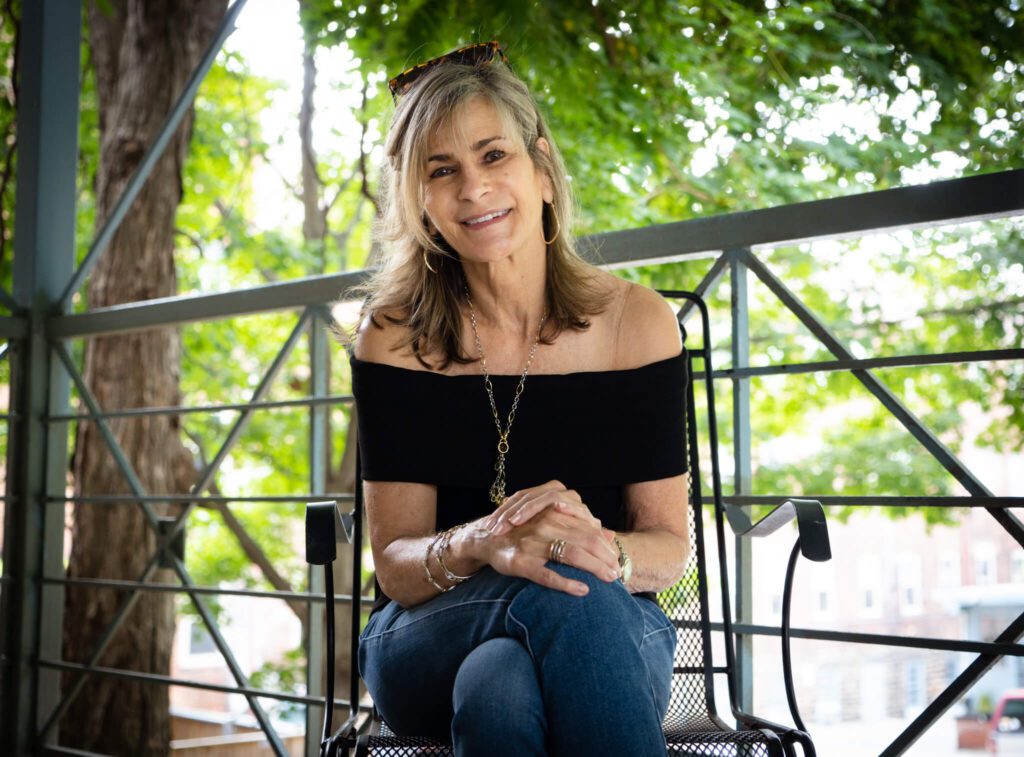
If you’ve been to my studio (or if I’ve taken your headshot at your location), you know that I provide guidance in advance on how to prepare for your session. One of the suggestions is to wear mid-toned jewel colors, and to avoid black clothing. From time to time the advice to avoid black seems to create anxiety in my client. This is usually because (a) most of their wardrobe is black, or (b) they think an all-black outfit makes them look thinner.
It’s true that darker colors CAN create the illusion of a slimmer body. You know how to look thinner on camera, though? Clothes that fit properly.
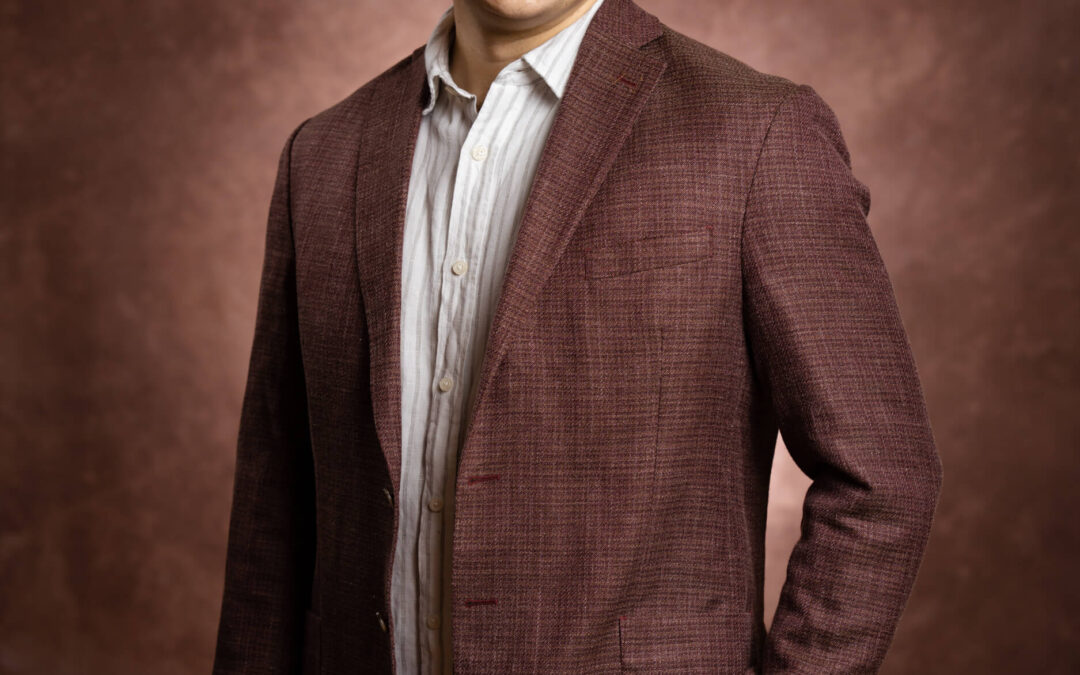
Proper fit means:
–Shoulders of the garment are the same size as your shoulders. The back of the garment should fit comfortably, not too tight when cross your arms.
–Collars should fit snugly against your neck, with no gap. For men, there should be no creasing of your shirt when you wear a tie.
–Jackets for men and women should conform to your body contours. Even if you don’t think you have a defined waist, a fitted or tailored style (as opposed to a “relaxed” fit) will be less boxy and make you appear trimmer.
–You should be able to button your jacket comfortably! If it’s too big, have it altered. If it’s too tight, find a new home for it.
Most dry cleaners have an alterations service. I have nearly all my clothes altered when I purchase them, since the waist is nearly always too big and pants too long. I’ve shortened tunics and knit tops, taken in blazers at the waistline, hemmed slacks, and even had items “eased” when they were just a bit too tight in the shoulders. With many of us buying clothing online and unable to try them on first, a good tailor is our best friend.
Finally, the right pose can always make you look thinner on camera, regardless of your body type or size.
Next time you appear in front of the camera, consider alternatives to black. As I tell my clients, “just try it.”
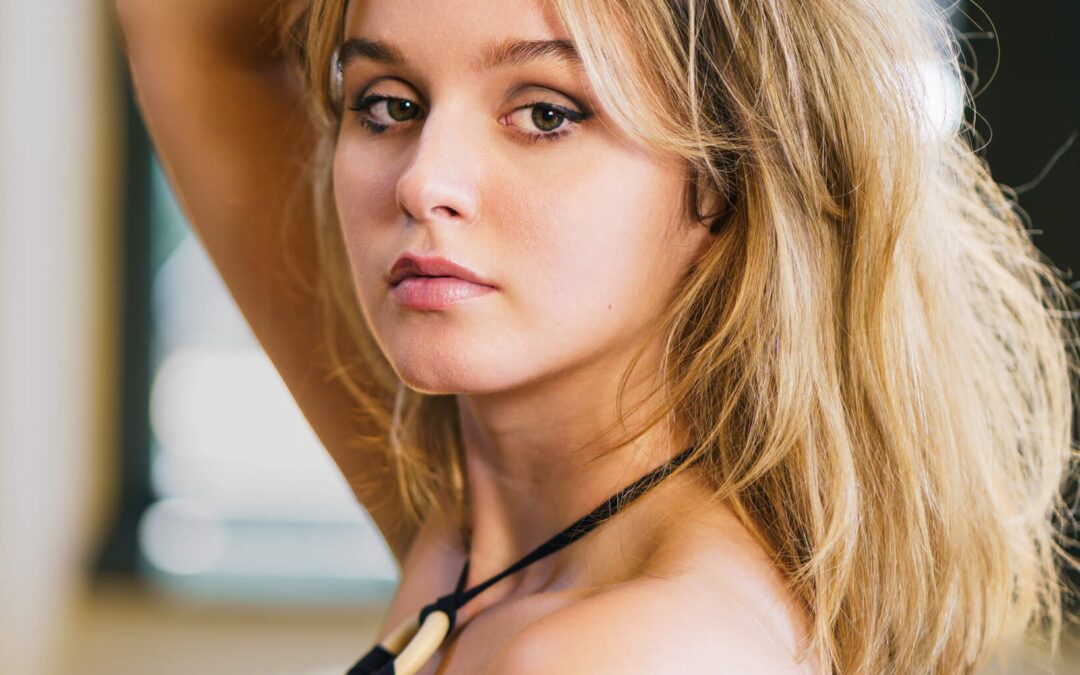
For an actor headshot photo session, you want your makeup to enhance your features without being overpowering. Here are some tips:
Foundation: Use a lightweight foundation that matches your skin tone. Avoid heavy foundation or tinted moisturizer (the latter contains zinc which creates shine).
Concealer: Apply concealer to cover any blemishes or uneven skin tones. Don’t overdo it — these are easily removed in retouching.
Blush: Opt for a subtle blush to add a health glow to your cheeks. A cream blush offers the best finish. Avoid contouring.
Eyes:
Brows: Fill in and/or groom your brows, but keep them natural.
Eyeshadow: Use neutral shades that complement your skin tone. Matte finish is preferred.
Eyeliner: A thin line of pencil liner can define your eyes. Avoid liquid eyeliner or winged eyeliner.
Mascara: Apply a few thin coats of mascara. Avoid false lashes unless they are a key part of your persona.
Lips: Choose a lip color that enhances your natural lip shade. Avoid overly glossy or dark shades.
Overall, aim for a matte finish, with no frosted or highlighted products.
I have a wide variety of makeup artists who specialize in makeup for actor headshots. I’m happy to arrange for them to come to the studio to apply your makeup for the session.
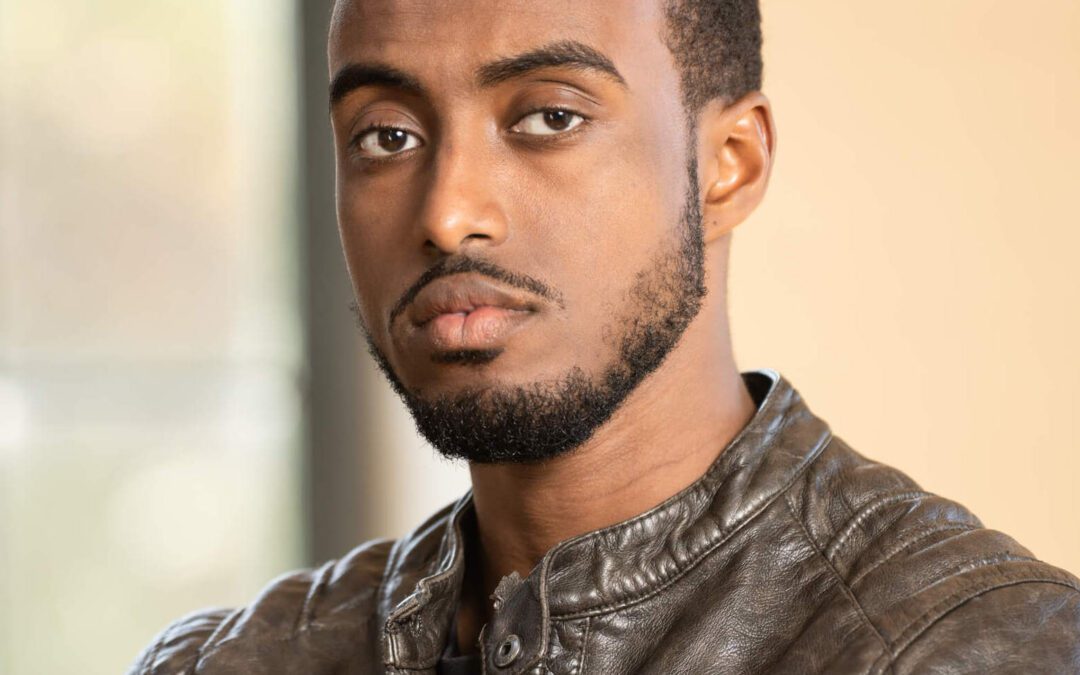
Your actor headshots need to show the range of emotions for the characters you are portraying. Here are a few of the expressions we’ll take you through during your session:
Natural: A relaxed, natural look that represents your baseline.
Joyful smile: A warm, genuine smile that conveys happiness. Depending on the role you’re seeking we might also do a laughing pose.
Serious or thoughtful: Slightly raised eyebrows, subtle smile. Sometimes these can be a little snarky if you’re seeking roles as a cynic or skeptic.
Confident stance: Strong, bold, direct expression. It can also look challenging.
Vulnerable: A softer expression that conveys sensitivity or emotional depth.
Angry or frustrated: An expressive, fierce look that communicates anger or frustration. This can also be an intimidating or threatening look if your characters are villains or gangsters.
Seductive: Sultry or flirty expression.
Playful: Lighthearted, sassy smile, perfect for class clown or kid next door roles.
Agents often request full-body poses. I’m less concerned about your expression in these, as they are primarily intended to show your body type and build.
When you come to the studio I’ll review your wardrobe options as well, to make sure your attire aligns with the roles and expressions you want to convey.
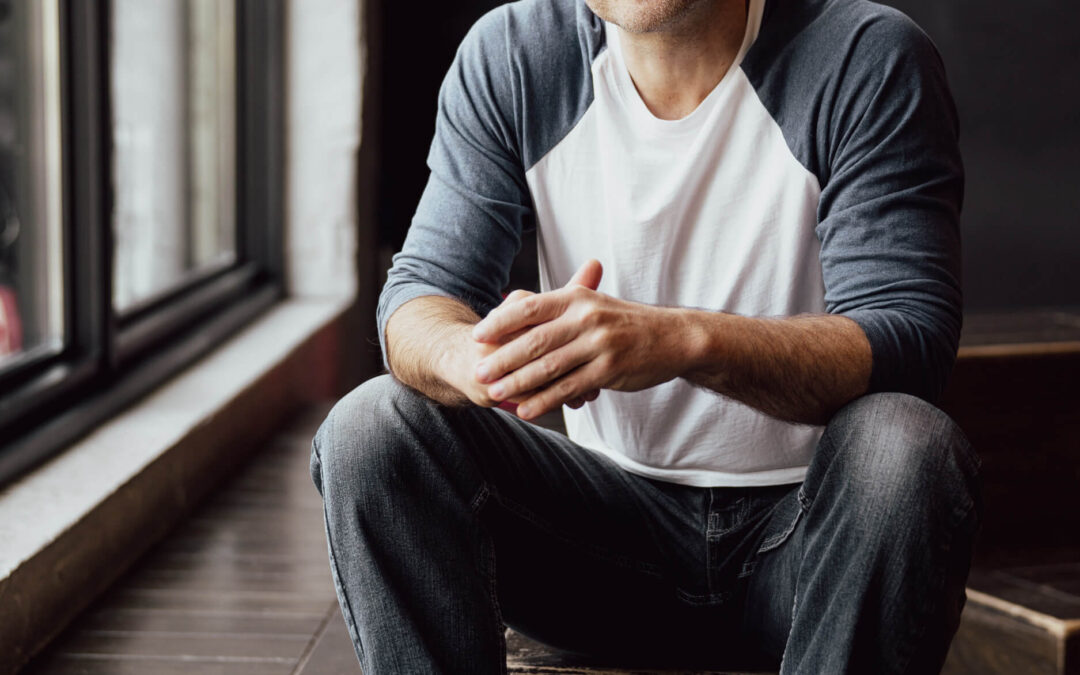
Congratulations on deciding to enhance your image with professional photos!
As you can imagine, a photoshoot for online dating photos is different from other photoshoots.
Studio sessions don’t cut it for dating profile images. You want an informal style, in a pleasing setting, where you can relax and be yourself.
Here’s what you can expect from your dating profile session, along with a few guidelines on how to prepare:
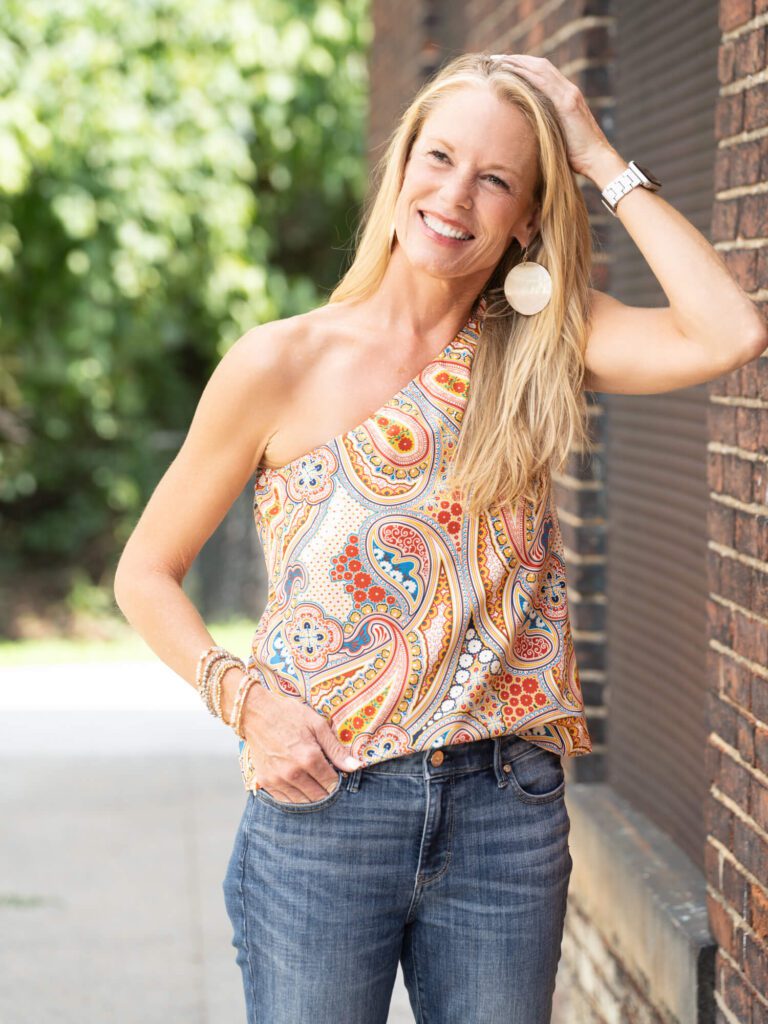
Location: Aesthetically pleasing landscapes or urban areas, like outdoor cafes and food courts, murals or city parks. I like Fells Point, for a harbor background, or R. House in Remington for an urban cafe setting. The building where my studio is located, a renovated historic textile mill, also offers fun and varied backgrounds for casual photography.
Lighting: Natural light only! No flash or strobes. We’re not aiming for perfection here, but authenticity and believability.
Posing: I’ll direct you through a series of easy poses. If you’re not comfortable in a certain position we’ll move on! It’s most important for you to feel comfortable and un-self-conscious.
Clothing: We’ll consult in advance on your wardrobe. Typically you’ll want to bring well-fitting clothing in styles that you wear every day. No suits or dressy outfits. You’ll have 3-4 wardrobe changes during your session.
Props: If you have a hobby and would like to bring a prop, great! Maybe a musical instrument or sporting equipment. The prop should make sense in the setting – in other words, bringing a snowboard to a photoshoot in July wouldn’t cut it. We discuss this in advance as well.
The best part? Your photos are transferred wirelessly to my iPad throughout the session. As we proceed through your poses, we’ll stop frequently to review the photos. This gives you a chance to make any adjustments in your clothing, pose or expression, and to make sure we’ve captured what you like before moving on.
Afterward, you’ll receive an online gallery with 18-24 proofs. You’ll make your selections and receive the final photos typically within 4 business days.